A while back, while talking with Agni Hogaboom, they discussed the concept of a "couture tee shirt." The idea was that using only a domestic sewing machine and attention to detail, we can elevate our sewing and produce a garment that is more considered, can last longer, and has more of you in it.
Agni's videos for making "Your Good T-Shirt" on Vimeo go into a lot of detail and discuss the concept of the "couture" tee as well. I highly recommend all of Agni's videos.
I really like the idea of slowing down and being more thoughtful about the construction and finish of a garment, even a humble undershirt. Over the last few months, I've been refining my methods and I think the result is something worth sharing.
Undershirts are a basic for me that I wear every day. I've worn inexpensive undershirts that come in a 3pack and I've worn designer brands that are pricey and are of higher quality fabric. And when designing Taylor & Hart Fabrics, I knew I needed to offer a high quality fabric for making undershirts. T&H opened last December with a wonderfully soft cotton/Lycra knit. I've made a number of undershirts with this fabric and I love them. But with the Summer months coming, I thought I'd test some lightweight fabric.
I found a beautiful Modal/Lycra knit to test. And what better way to test a beautiful fabric than to slow down and use the "couture" techniques I've been experimenting with.
|
Tools, Technique, Fabric, and Fit When learning to sew a few years ago, I was overwhelmed by all the things I needed to learn. So I began grouping all these skills into four categories: Tools, Technique, Fabric, and Fit. I learned skills in each of these categories in an iterative way, each skill from a group helping me succeed in a skill from another. The most basic of categories is Tools. Learning the features of your machine, learning to read and understand patterns, learning to cut fabric with shears or a rotary cutter are the first things to master. Next is Technique. Sewing a straight line, when to under stitch, or sewing a proper dart. These techniques build on the lessons we learned from using our tools. We then learn how various Fabrics behave and which are suitable for our skills and our project. We can start with an easy to sew fabric and work up to challenging fibers and weave. The final category is Fit. I believe that this is the most difficult category of skills we need to learn. A well fitted garment is what we all wish for. But it can be VERY challenging to master. And we NEED to master skills from the first three categories before we can hope to understand how to properly fit trousers, a jacket, even the humble tee shirt. |
Tools
|
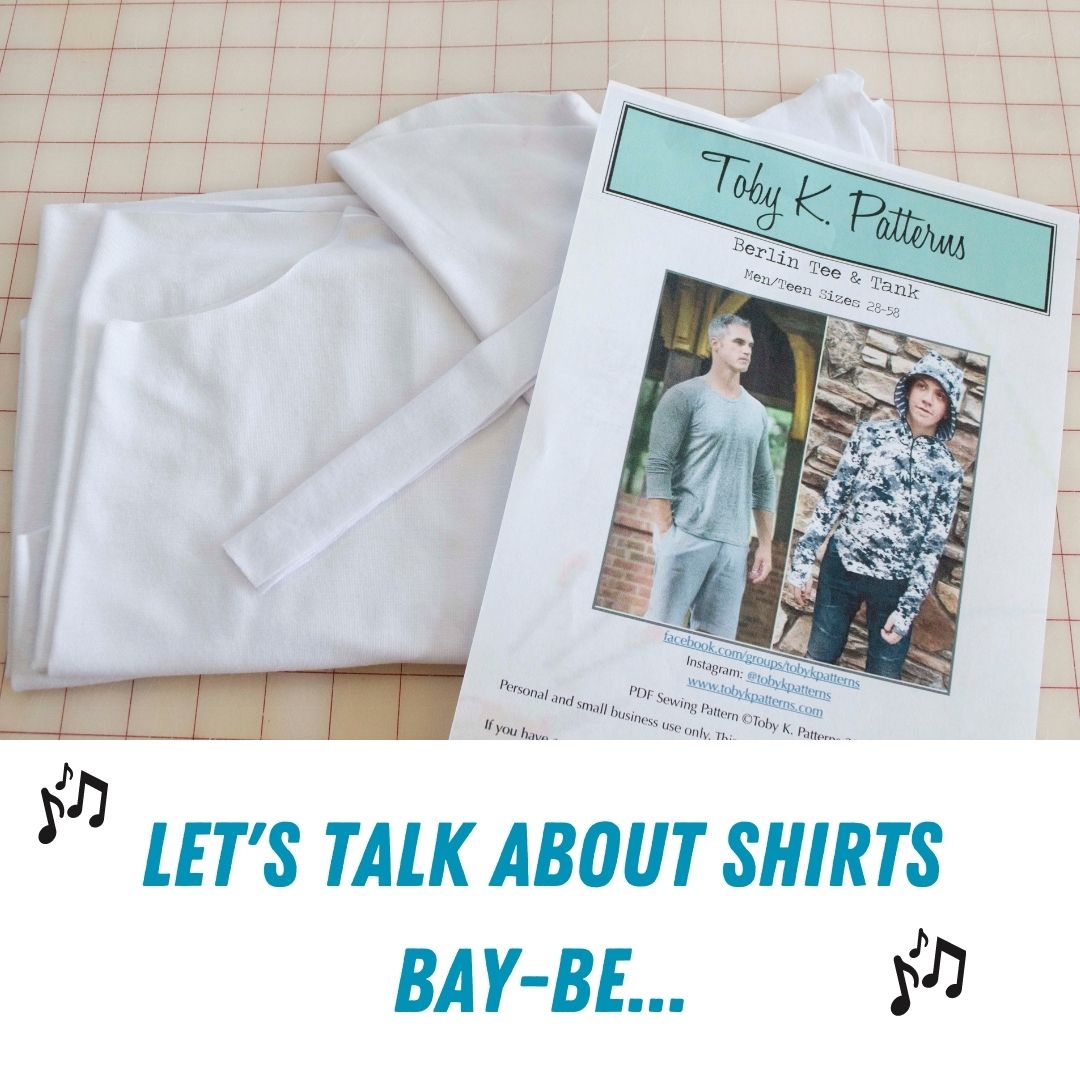
| The Project
Choosing an undershirt project was the easy part. I was testing a fabric that would be presented as great for undershirts. And choosing the pattern was equally simple. I have used the Toby K Patterns Berlin T on more than a dozen projects and this patten has a lot of great options. Crew neck and V neck are the simple variations I use most. And to size for an undershirt, I chose one size below what I use for a standard tee. This worked very well for me. |
The techniques I've adapted from my conversations with Agni are simple, really.
Each seam has three rows of stitching:
- A basting stitch - 4mm stitch length at 1/4" seam allowance
- A construction stitch - a triple stitch at 3mm stitch length at 3/8" seam allowance (from the pattern)
- An overcast stitch - I chose a decorative overcast stitch available on my Juki at 7mm width
The basting stitch has one purpose: To match the raw edges of the fabric as closely as possible. Since I am a right hand amputee, I discovered this first line of stitching is very helpful to me. I can focus on only the one task. And as it is a straight stitch, the fabric is moving through the machine in a more controlled way. I also use my machine's built in walking foot for added stability.

And what I'm about to say may horrify some. This seam doesn't even need to be completely straight.
Mistakes that MatterSome mistakes are more important than others. Some mistakes don't matter as much. In the case of the basting stitch, we only want the raw edges to line up, nothing more. And since this is the first line of stitching, the fabric can shift more. As long as the seam is within the 3/8" seam allowance we need for the construction stitch, a little wobble has no real consequence. |
The construction stitch is a standard triple stitch that is found on most domestic machines. This stitch provides both strength and stretch, perfect for a fitted undershirt.
I used 4mm stitch length for most of the seams but 3mm for the sleeves, given the curve. The triple stitch uses a lot of thread, so having an extra bobbin handy will save some time here. The one downside: It is a TON of work to unpick a triple stitch. I hope that doesn't happen to you, but if does, buckle in.

Finally, the overcast stitch is used to finish the raw edges of the seam allowance. I chose a decorative stitch for mine, but the goal is to finish the edge. A simple, narrow zigzag can look beautiful (and is the finish Agni has used).

I did topstitch the shoulder seams. But chose not to topstitch the sleeves. This is entirely preference. While I think it adds some stability and strength to the shoulders, I don't think it adds much to the sleeves except a visual detail. ***I could be wrong about this, since I'm a new-ish home sewist. But time will tell.

That about covers the project overview and techniques. Next time, I'll share some details of the make and my conclusions about the fabric and show the finished undershirt. Feel free to comment below, or ask questions.
Kevin